For the past year, I kept seeing these gorgeous images on Instagram where I’d see one half of an image, swipe left and see the other half. Like here, here, and here. Christopher Architecture & Interiors is pure catnip for me and if I could ever be so lucky to work with that team…
Was this an Instagram option I was just not seeing? Was this one of those things where you need 10k followers to access? Was there witchcraft involved?
After some research, I figured out how to make a seamless Instagram panorama and be the envy of many (or at least one person). So you’ll need Photoshop (I’m using v22.3) and an image, not witchcraft. Of course, if you do have eye of newt, show me because I’m interested.
Ready?
Sizing definitely matters here. Insta automatically resizes your photo and makes it a little hard to do certain things. To get over this slight hitch, we’re going to create this panorama image from several vertical photos of the same height. You can do multiple photos – just ensure they’re all the same height.
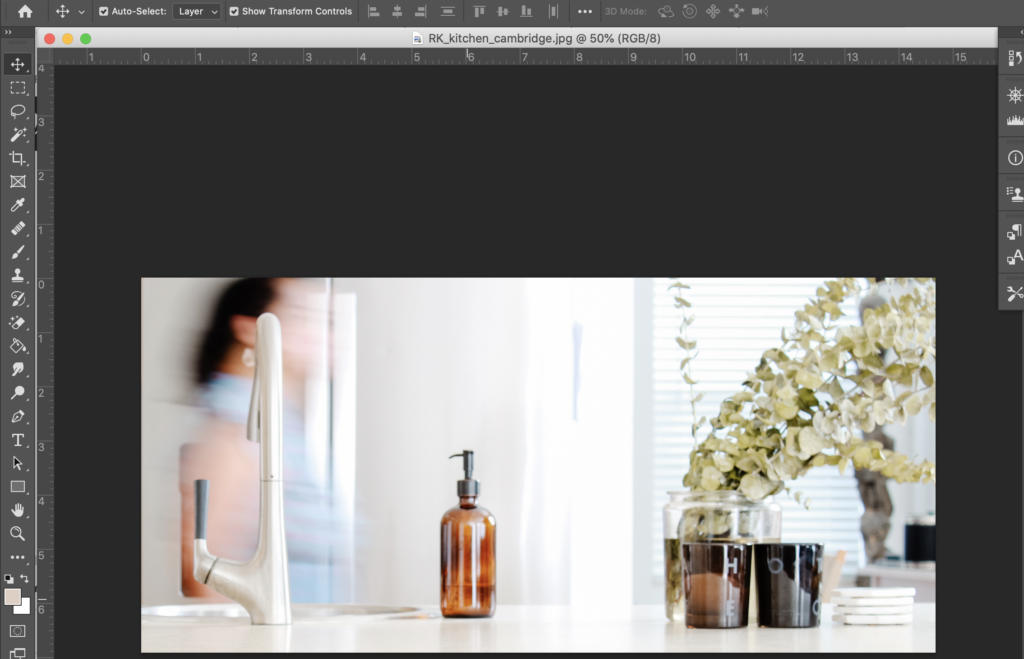
Let’s go to Photoshop!
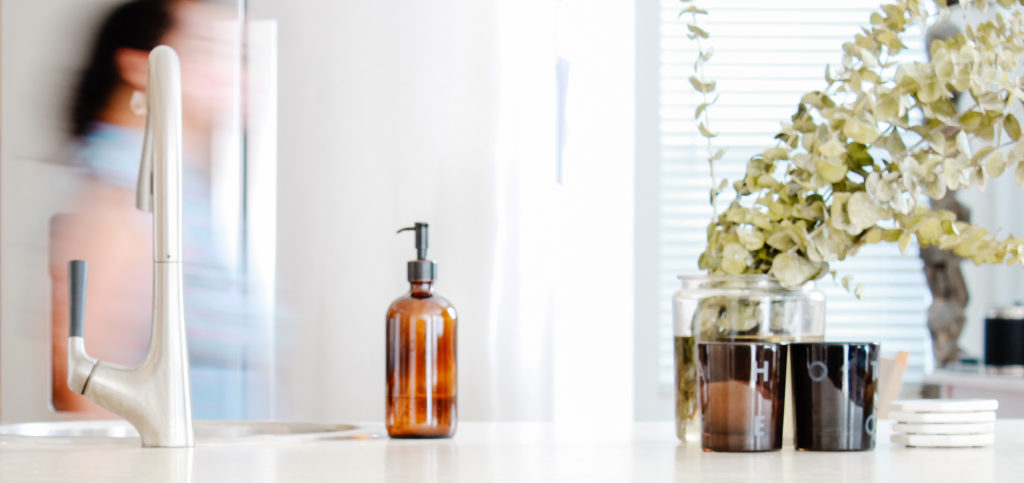
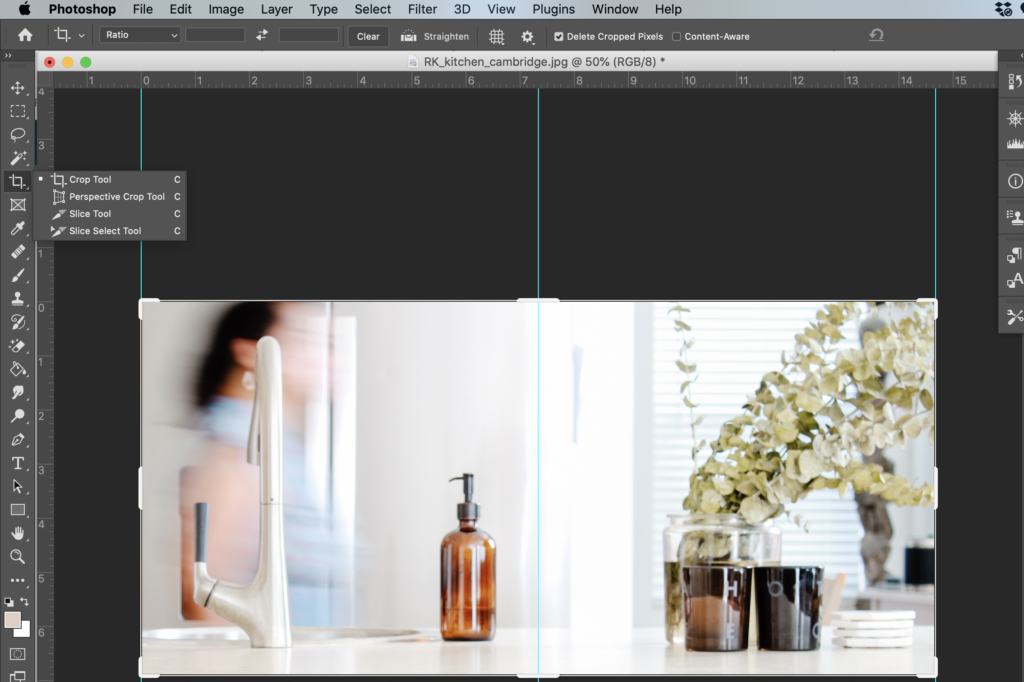
Here’s the image I’m using:
I’m going to divide this image into two by going to the Menu > View > New Guide Layout.
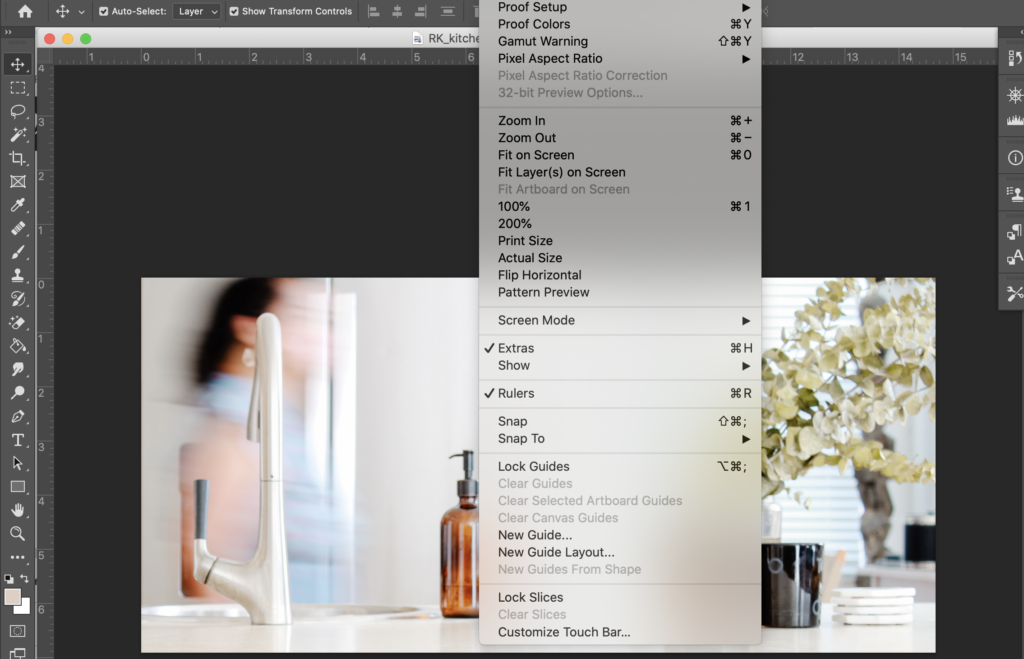
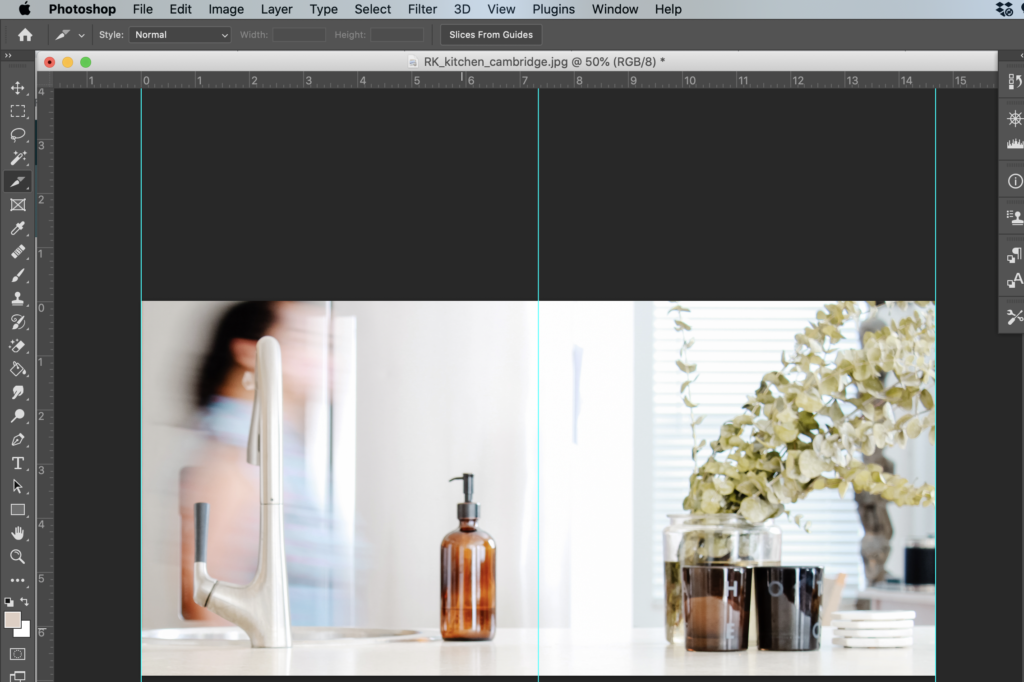
Under Columns > Number, I’m choosing 2 (you can make this any number that suits your needs). Click OK.
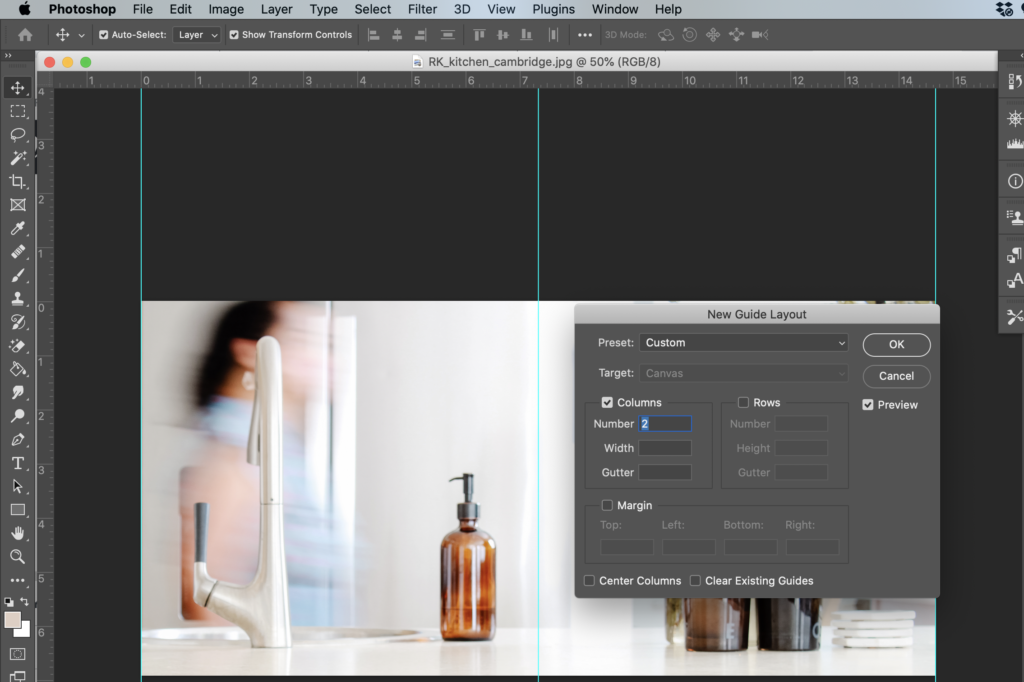
Now you’ll see three vertical lines dividing up your image into two. We’re almost done!
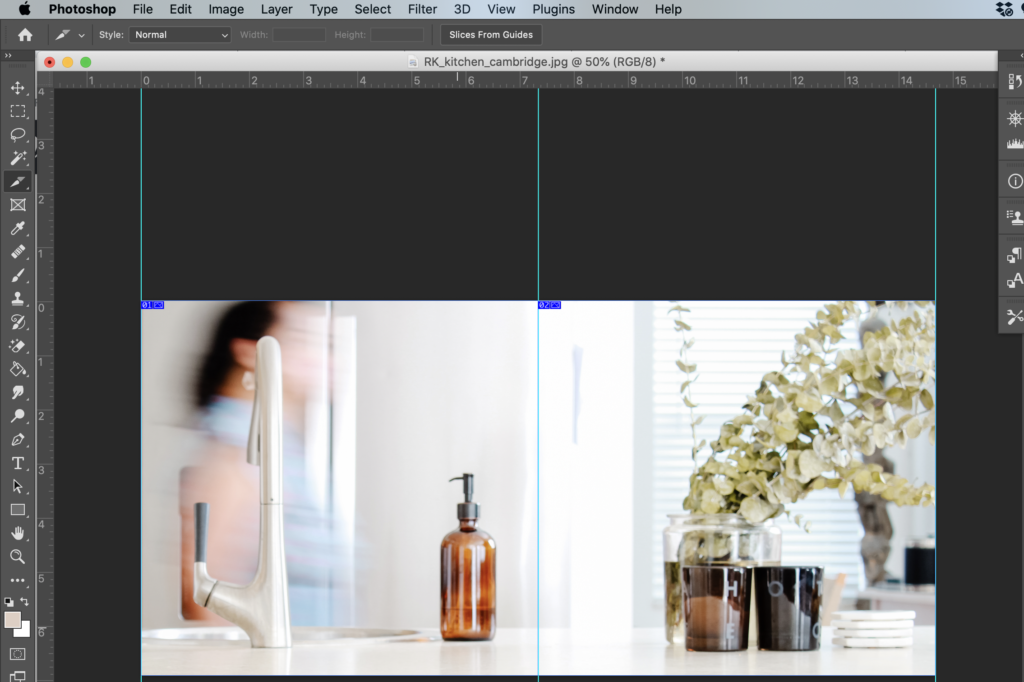
Time for slicing.
Go to the left-hand menu. Choose the Crop tool, hold, and then choose Slice Tool.
On top, choose Slices from Guides.
You’ll see the columns are now numbered – 1 and 2.
You’re doing it!
Here’s where we start resizing things. Each slice will be 1080px wide. Since we’re working with two columns, the total width will be 2160px (1080 x 2). Remember this number for the next step. If you have three columns, then the total width will be 3240px (1080 x 3). If you have four columns, the total width will be 4320px. Got it?
Go to Image > Image Size.
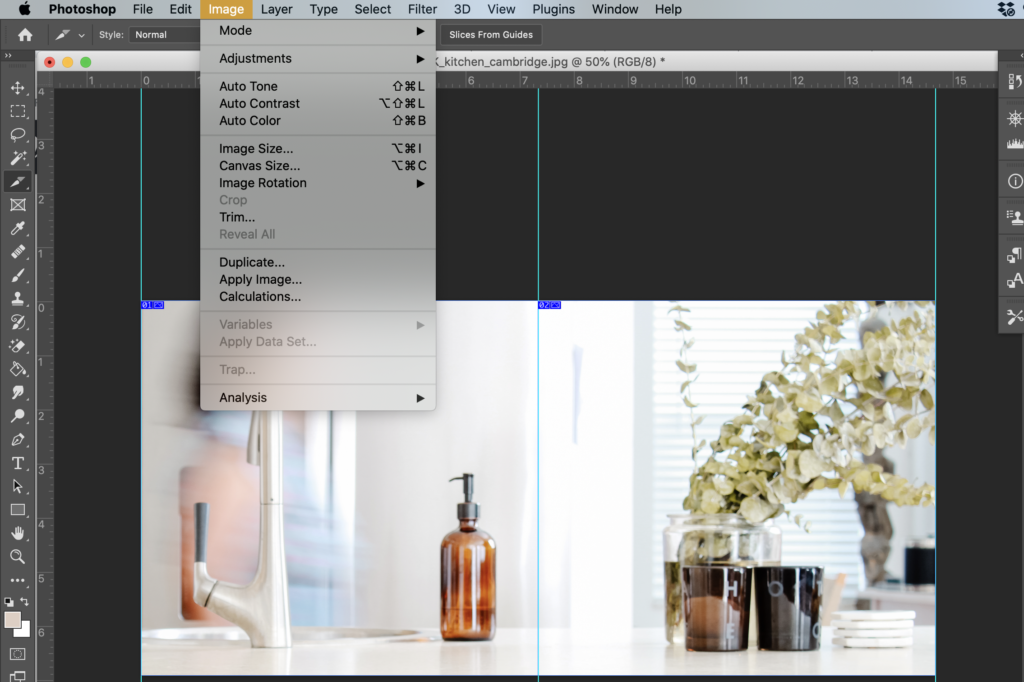
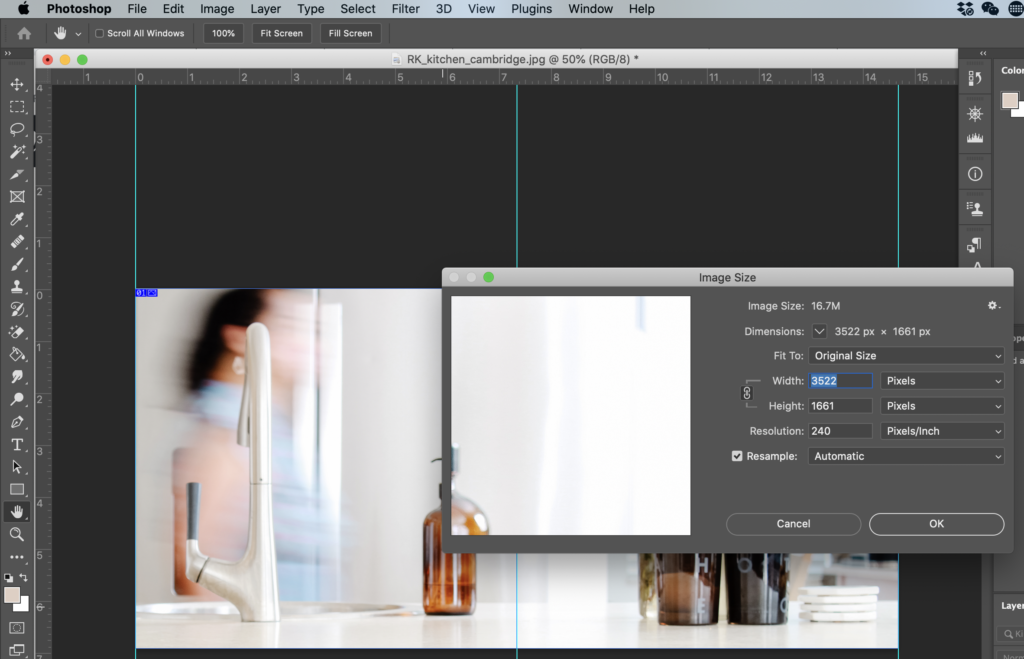
In the Width section, put in 2160 and click OK.
We’re almost there.
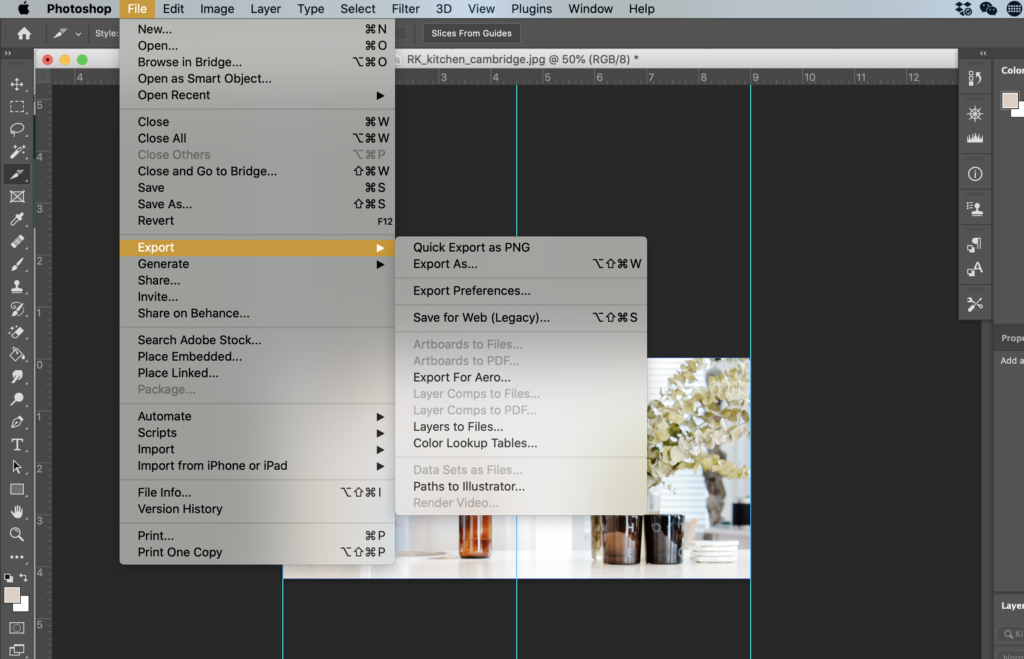
Let’s save this bad boy. Go to File > Export > Save for Web.
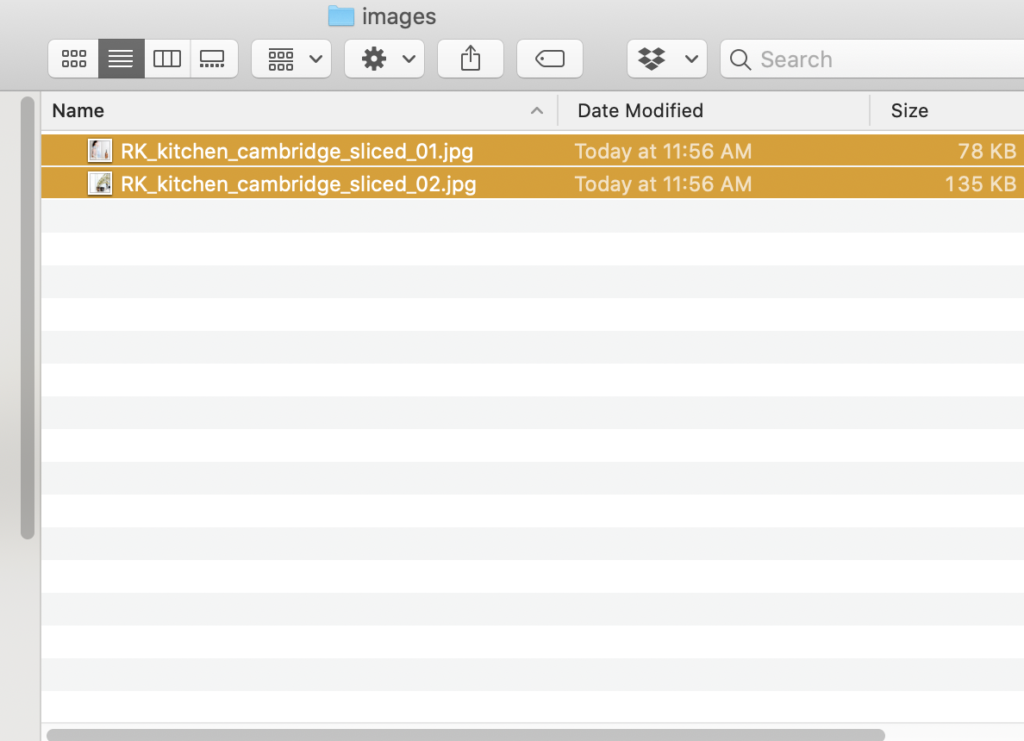
I’m going to send these photos to my phone now so we can prep it for our Instagram post. Remember: because we sliced our original photo into 2 columns, we’ll have two images to upload to Instagram.
Instagram time!
Open Instagram > Add a new Post > click on the first image of your panorama > click on the expand arrows (bottom left hand corner). You’re doing this so your two images will be seamless and the image size will be a 4×5 crop instead of the Instagram default 1×1 crop.

It’s time to add the 2nd image. Click on the Multipost icon in Instagram (the layered square icon) > click Next. If you have more images for this panorama, this is the time to add it.

Things to keep in mind:
- do your images line up?
- if you need to edit one image, make sure you do the same edits to the other images you’re using in your panorama post
- don’t forget to click on the Expand Arrows for your first image so it’s a 4×5 crop
- let your followers know in your seamless Instagram panorama post to SWIPE so they can see the whole image
Now your turn – show me your seamless panorama posts!

")

comments +